In this tutorial you’ll learn how to install Tomcat on a Windows system. To install tomcat, you need a JDK/JRE installed on your system. You can download tomcat from this page. We will learn both how to configure tomcat if you’ve downloaded the executable installation or if you’ve downloaded tomcat as an archive.
Installing Tomcat on Windows Using Executable Installation
If you’ve downloaded the executable installation, then installing tomcat is very easy. There are a few things to note during installing tomcat.
- Generally people run tomcat on port 8080 during development to avoid conflict with any other servers (like IIS or sometimes even Skype)
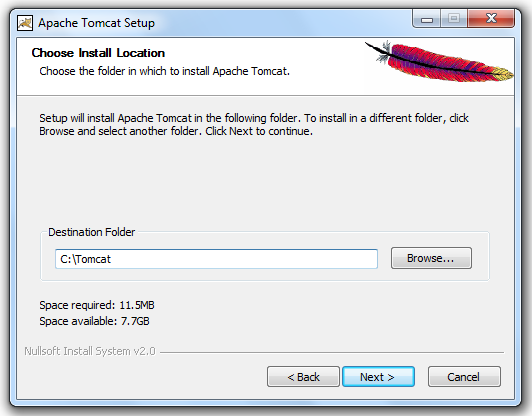
- I would recommend that whatever path you install tomcat to, make sure there are no spaces in the path (like Program Files folder has spaces in its name). Although this is not compulsory, but this will save you some trouble later on.
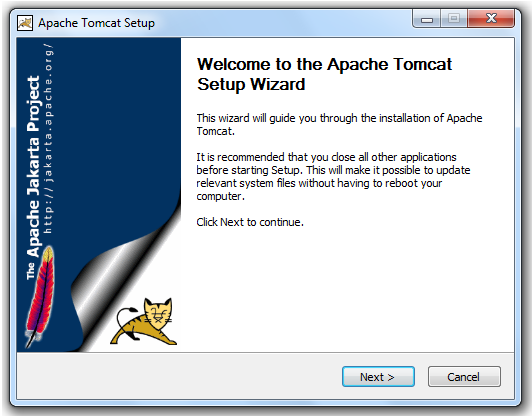
Now lets wealth through the installation of Tomcat on Windows. Click on setup to start,
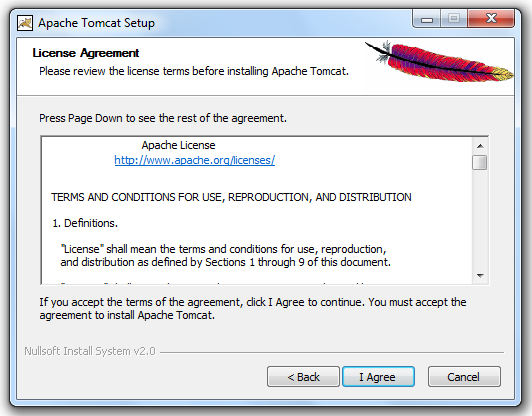
Accept the licensing agreement in the next step.
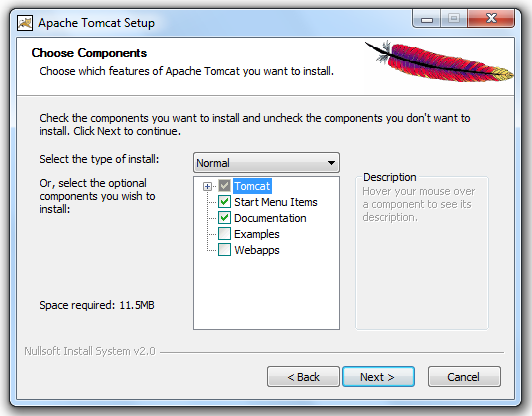
Choose the Tomcat components to install, the default is generally fine.
Set installation path. Make sure that the Tomcat installation path do not have any space.
Leave the port as 8080 and choose whatever username/password you like. Generally we username as “admin” and password as “adminadmin”.
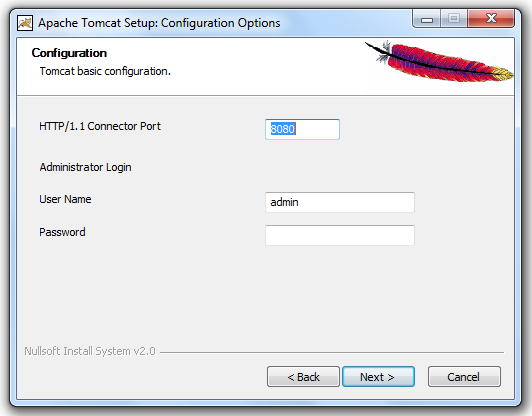
Set JRE path, if you have JAVA_HOME environment variable set, the installation will automatically detect this path.
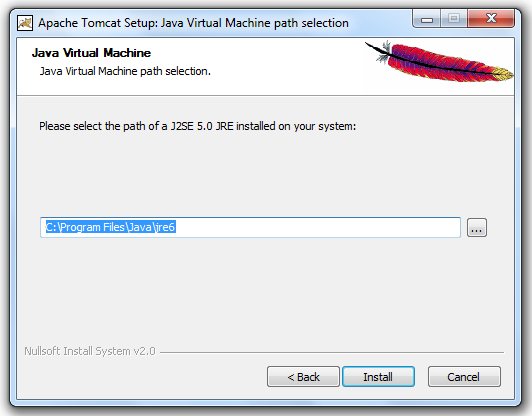
Finish the installation.
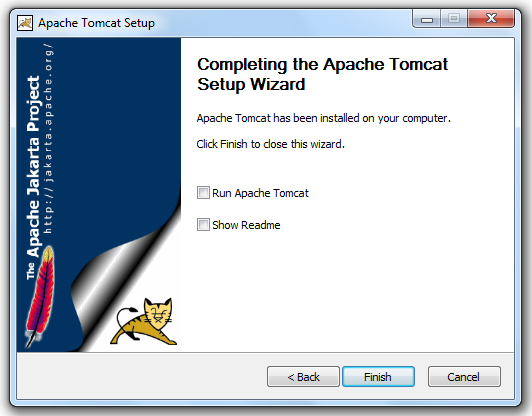
After completing the installation, you can go to start menu and open the “Configure Tomcat” shortcut to start and stop the Tomcat on Windows.
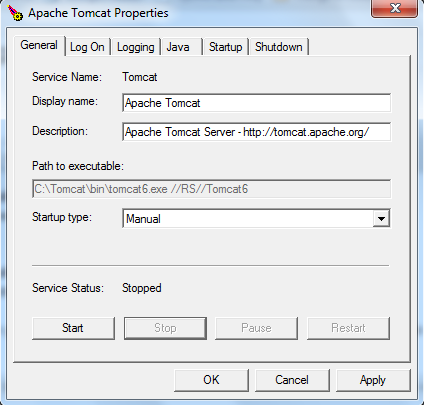
Once tomcat is started, you can go to http://localhost:8080/manager/html in your web browser to open Tomcat manager. You’ll have to enter the username/password you entered while installing tomcat to be able to view the Tomcat manager.
Manual Configuration and Installation of Tomcat on Windows
If you’ve downloaded Tomcat as a ZIP file or other archive format, then you’ll have to do a little more work to install and configure tomcat.
• First you need to extract the archive into a folder of your choosing. We are assuming that you’ve extracted tomcat to C:tomcat folder (which means there are folders named bin, conf etc inside of C:tomcat folder).
• Now you’ll have to set JAVA_HOME and CATALINA_HOME environment variables (the second one is actually optional but its a good idea to set it).
JAVA_HOME environment variable would already be set if you installed JDK using an executable installer. If its not set, then set JAVA_HOME environment variable to the path where JDK/JRE is installed. Like if you’ve installed Java in C:Program FilesJavajdk1.6.0_11, then set the JAVA_HOME environment variable to this path. After doing so, set the CATALINA_HOME environment variable to the folder where you extracted tomcat archive.
• Now configure admin user in tomcat. For this, go to C:tomcatconf folder and open tomcat-users.xml in any text editor. Change the content of the file to this and save it
<tomcat-users>
<role rolename="manager"/>
<role rolename="admin"/>
<user username="admin" password="adminadmin" roles="manager,admin"/>
</tomcat-users>
This will create a user named admin in tomcat whose password is adminadmin, you can change these values if you want. Now you are ready to start tomcat.
• Open a command window and move to C:tomcatbin directory. Here type the command catalina run, this will start tomcat. Now open a browser and open the address http://localhost:8080/manager/html, enter the username-password which you gave in tomcat-users.xml and you’ll see the tomcat manager. You can pat yourself on the back, you’ve configured tomcat.
Note: On Windows 7 or Vista, you might face some problems if you install Tomcat in C drive (i.e. the OS Drive) due to security restrictions. So it is suggested to install Tomcat in a different drive if you are on Windows 7 or Vista.
